Slate is one of the most forgiving materials you can put under a stove — until it isn’t. It resists heat, wears gracefully and looks better with a bit of age on it. But it is also a rigid, brittle stone that will not tolerate being forced, spot-bedded or heated unevenly. Most of the hearth failures we see are not down to bad slate. They are down to decisions made in the hour before the adhesive goes down.
Slate hearths are usually fitted near the end of a job, when everyone is tired and the stove is waiting in its crate. That is exactly when shortcuts creep in. Here are the mistakes worth avoiding, and what to do instead.
Uneven bedding and hidden voids
A slate hearth must sit on a continuous, fully supported bed. That means a solid, dry, dust-free substrate — a concrete or screed base, a suitable structural floor, or a purpose-made construction board — with adhesive spread across the whole footprint rather than dabbed in a few spots.
Spot bedding is the single most common cause of cracking. The slate flexes slightly over the voids, and once a stove is sitting on it, that flex becomes a crack. You can often hear the problem before you see it: tap the hearth with a rubber mallet after the adhesive has gone off and listen for a hollow note.
- Level the substrate first; do not try to level with adhesive alone.
- Comb the adhesive out with a notched trowel, then press the slate down and check for movement.
- Work from one corner to the opposite corner, pressing out air as you go.
- Back-butter the slate where the substrate is even slightly uneven.
Before fixing, dry-lay the hearth and check it for rock. If it rocks now, it will rock worse once a stove is standing on it.
Using the wrong adhesive
Ordinary wall tile adhesive has no business under a hearth. It sets hard, but it is not designed to cope with the cyclical heat a stove throws downwards, and it can soften, shrink or fail at the edges over a season or two.
Choose a cement-based adhesive rated for high temperatures — most manufacturers now label products specifically for hearths, stoves and fire surrounds. Follow the mixing ratio on the bag rather than judging it by eye; a sloppy mix loses strength and dries unevenly.
If the hearth is going over an existing one, check what is already there. A sound lime mortar bed is fine to build on, but a crumbling or dusty old base needs removing. Patching with a different material can leave you with two substrates moving at different rates.
Where the installation involves a solid fuel stove or flue, the work may fall under building regulations, and a competent person scheme may apply. If you are unsure about the hearth dimensions, clearances or ventilation for the appliance, get the stove installer or a registered professional to confirm before you fix anything.
Getting the edge finish wrong
The edge of a hearth is the part everyone sees and the part installers most often rush. A chipped, wavy or dull edge undermines an otherwise neat job, and an unsupported overhang is a weak point waiting to fail.
Cutting and shaping
Score-and-snap tools are for thin tiles, not proper slate. Use a wet diamond blade, cut slowly, and keep the finished face up so chipping occurs on the underside. Tape the cut line to reduce breakout, and take the last few millimetres gently.
Plan cuts so you are not left with narrow slivers at the front edge, and set out the visible edge before you fix anything. Do not be tempted to hide a rough cut against a wall if the other end will sit in full view.
Finishing and sealing
A chamfer or bullnose profile reads as deliberate; a raw sawn edge reads as unfinished. Work progressively through grits, then seal the edges with the same sealer used on the face. Slate edges are thirsty and will stain from mortar, grout or cleaning products if left bare.
Keep the hearth slightly proud of the finished floor so it reads as a distinct slab, but keep the gap consistent. A 5–10 mm reveal usually looks right and protects the edge from scuffing. Wipe away adhesive residue before it cures — slate is easy to mark and awkward to clean once a smear has set.
Ignoring heat movement
Slate expands and contracts with heat, and rigid installation leaves it nowhere to go. Leave a small expansion gap around the perimeter — 3–5 mm is typical — and fill it with a flexible, heat-tolerant sealant rather than grout or mortar, especially where the hearth meets skirting, a stone surround or the wall.
Check the required hearth depth and clearances for the stove. Building regulations set minimum dimensions in front of and to the sides of the appliance, and these vary with the stove and the installation. If you are unsure, ask before the hearth is cut; it is far cheaper than lifting a fixed slab.
An air gap between the underside of the stove and the top of the slate helps as well. Direct contact traps heat in the stone and can leave a scorch-like discolouration. Some stoves sit on legs or a plinth for exactly this reason, and a heat-resistant board beneath the hearth adds another layer of protection where the substrate is sensitive.
A short pre-start checklist
- Substrate clean, dry, flat and sound.
- Hearth dry-laid, checked for rock and marked for cuts.
- Cement-based, heat-rated adhesive mixed to spec.
- Full bed, no voids, tapped and checked.
- Edges profiled, sanded and sealed.
- Expansion gap left and sealed flexibly.
After the first few fires
Once the stove has been run properly for a week or two, go back and look at the hearth. Hairline cracks, a hollow ring under the front edge or a lifting corner are all early warnings. Catch them now and a repair is straightforward; leave them and you are lifting the stove, breaking out the bed and starting again.
Clean slate with a neutral pH product and avoid acidic cleaners, which dull the surface and strip sealer. Re-seal every couple of years, or sooner in a busy room. Above all, take the time to get the bedding and edges right on the day — a hearth that is flat, fully supported and neatly finished will outlast the stove sitting on it.
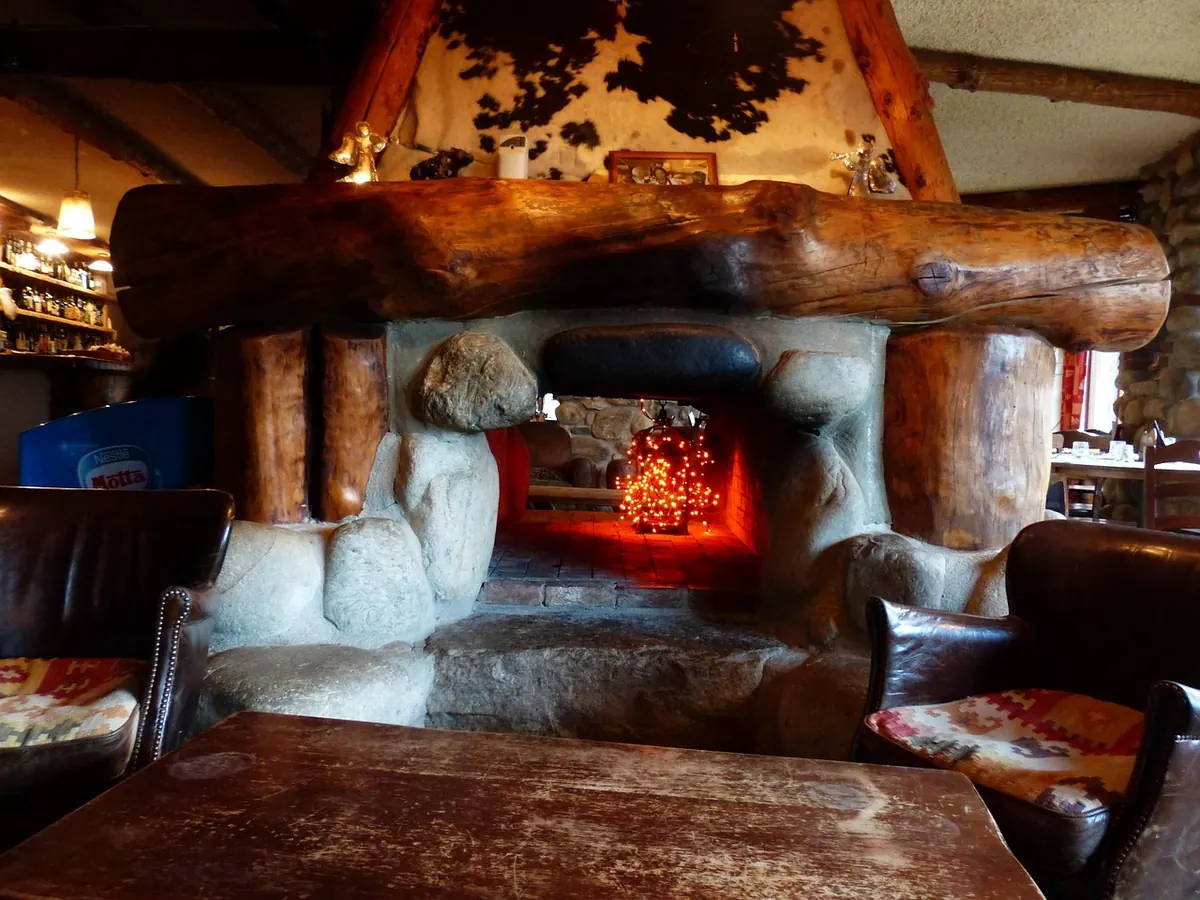
Photo: Hans / Pixabay